
How to make a custom Data Extract available
The purpose of this article is to explain how to load a custom SQL query into Elements and add it as custom Data Extract. It presumes that a SQL query has already been created and tested for validity.
To add a Data Extract, you must have the role of Reporting Hub Administrator or System Administrator.
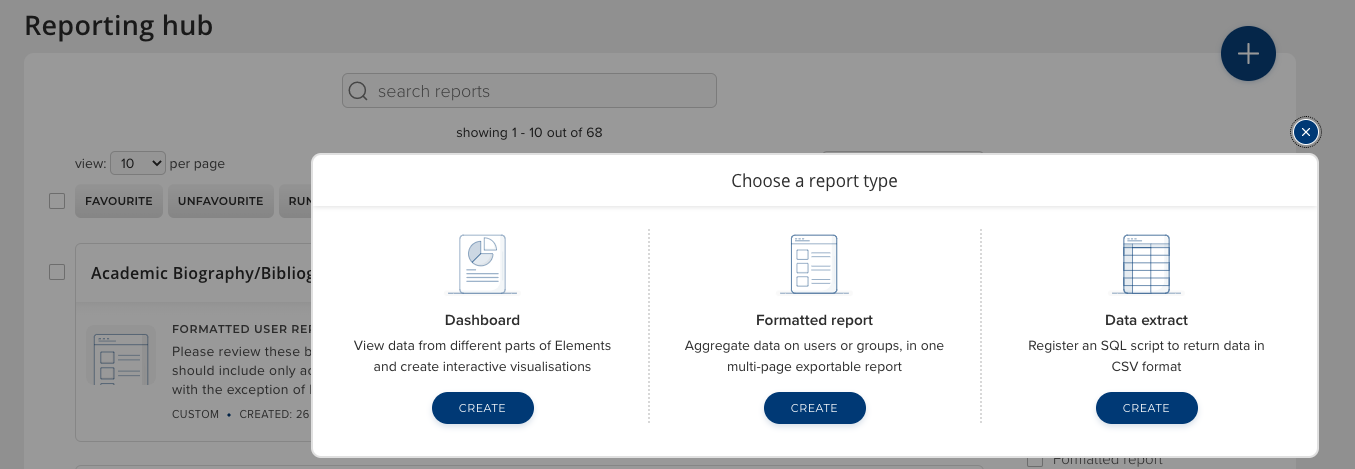
Begin by going to Menu > Search & reporting > [REPORTING] > Reporting hub. (V6.n Reporting > Reports & Dashboards > Reporting Hub.
Next, click the blue 'Add report' plus symbol and select 'Data extract.'
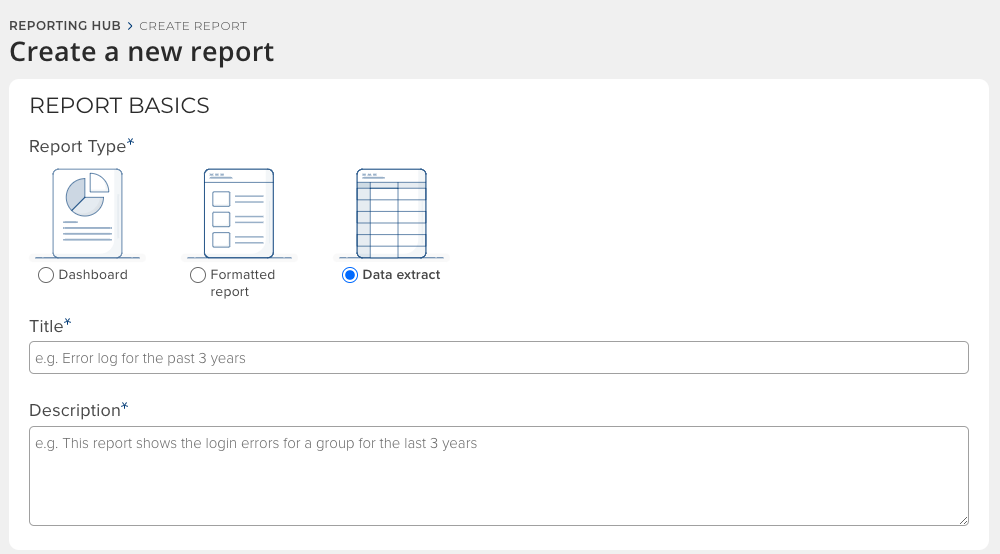
Fill in the title and description.
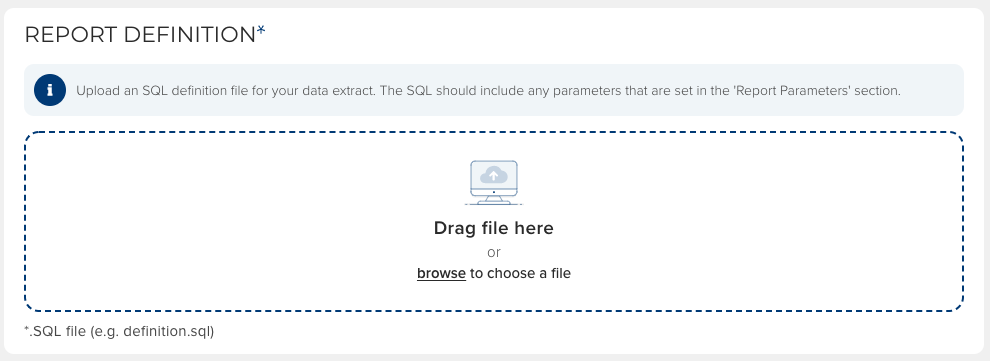
Then, upload the definition file.
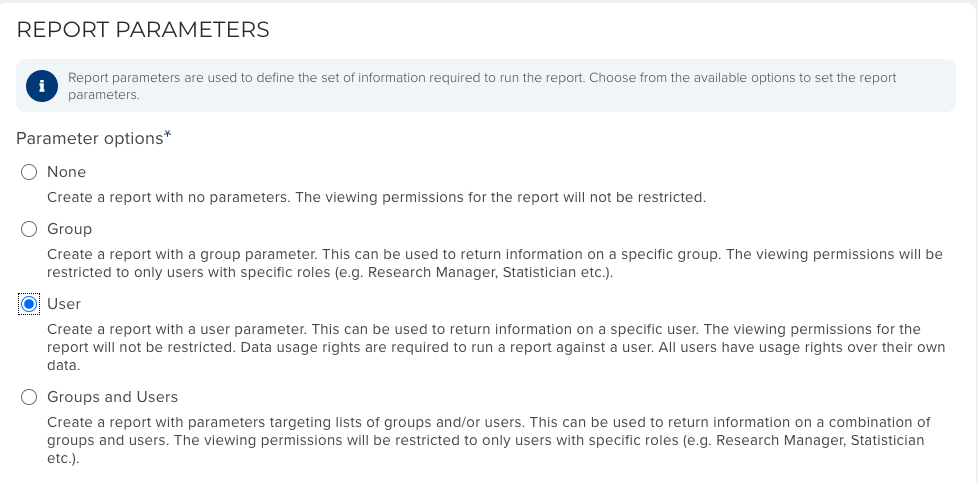
Under 'Parameter options', choose 'User.' 'Boolean parameters' and 'Date range settings' are optional.
Last, click 'Create report.' The "Report details" page will open for the newly created report.
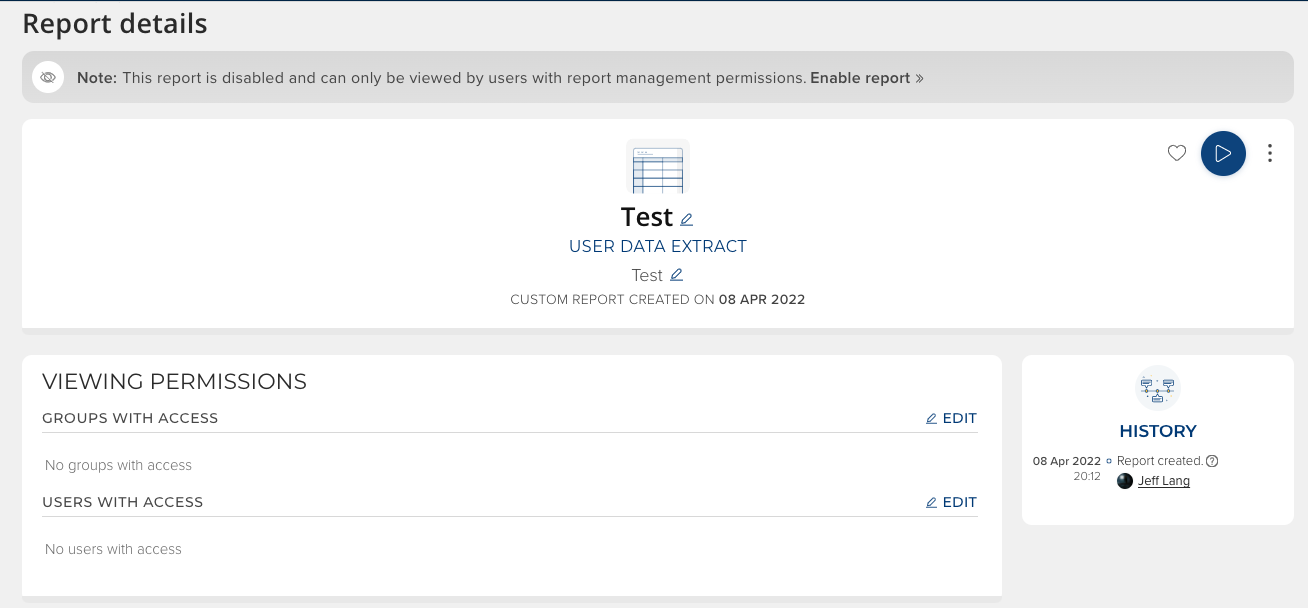
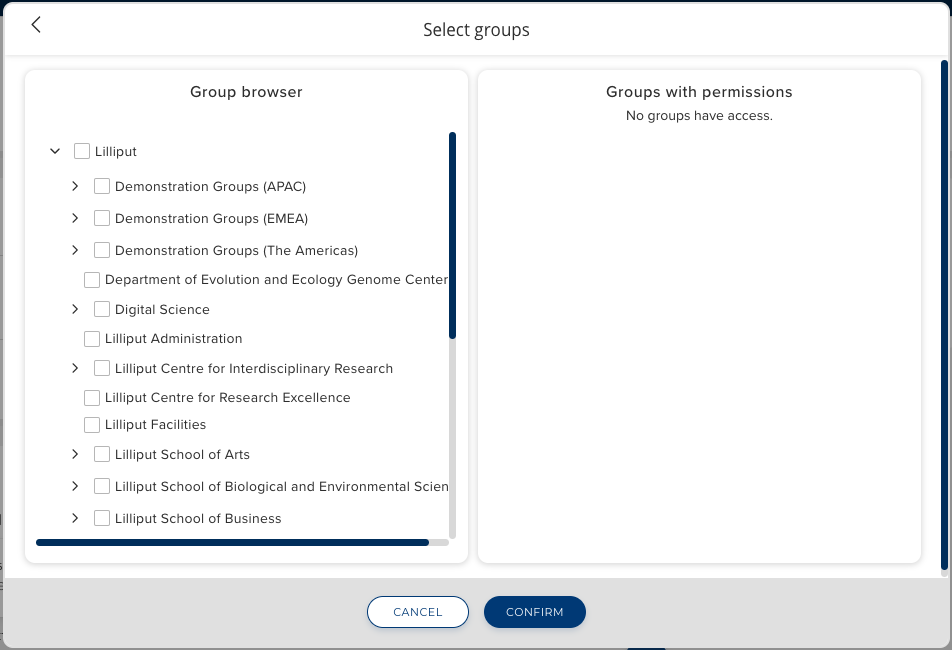
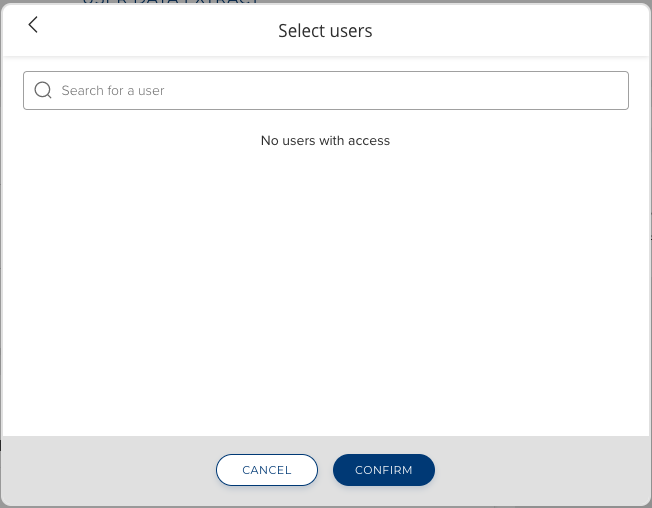
Grant viewing permissions for the new report, either to groups, or to specific user. This controls who can can see the report.
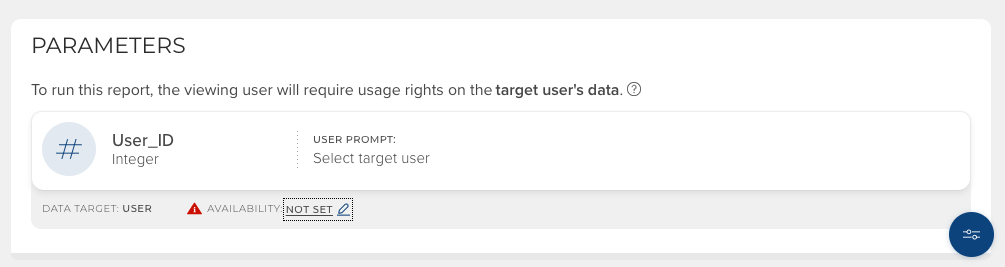
Under 'Parameters,' set the User_ID parameter availability by clicking on the pencil. This controls which users or groups the report can be run for. Clicking on the blue 'Parameter options' button in the lower right-hand corner will permit additional parameters such as Date range to be configured.
Please note the distinction between viewing permissions and parameter availability. For example, suppose a particular report is designed to report on members of Department X but should only be visible to members of the user group P&T Assessors. In this case, you would grant viewing permission to the P&T Assessors group and set availability of the User_ID parameter to include Department X only.
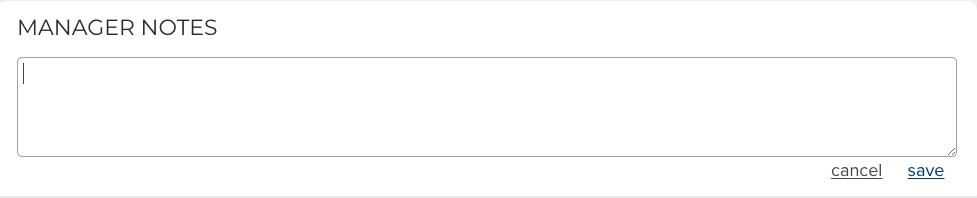
Add any Manager Notes as needed.
Finally, scroll to the top of the page and click 'Enable report.'

The report is now available to the selected users. If you go to Menu > Search & reporting > [REPORTING] > Data extracts (V6.n Reporting > Reports & Dashboards > Data Extracts) you can find it by searching on the report title.