Email configuration
Symplectic Elements will interact with your institution’s email system in order to send reminder emails and other alerts.
The following must be true for emails to be disseminated to a user:
The Symplectic Mail Service must be installed and running on the server.
The web.config file on the server must have email sending enabled <add key="enable-email-sending" value="true" />
The email host must be configured in Elements (below).
The notification email must be active in the Publications module. Note: if 'override' is not checked, the notification email 'active' setting is on each Primary Group.
The Emailer: Notification scheduled job has to be active.
The Synchroniser service must be running (to find new publications).
The user must to have access to the Publication module.
The user must be active.
The user must have search settings ("Is Academic=True").
Email Configuration
Elements 6.23 and later
Elements can connect to Google or Microsoft mail servers using OAuth authentication, or to any SMTP mail server using credentials.
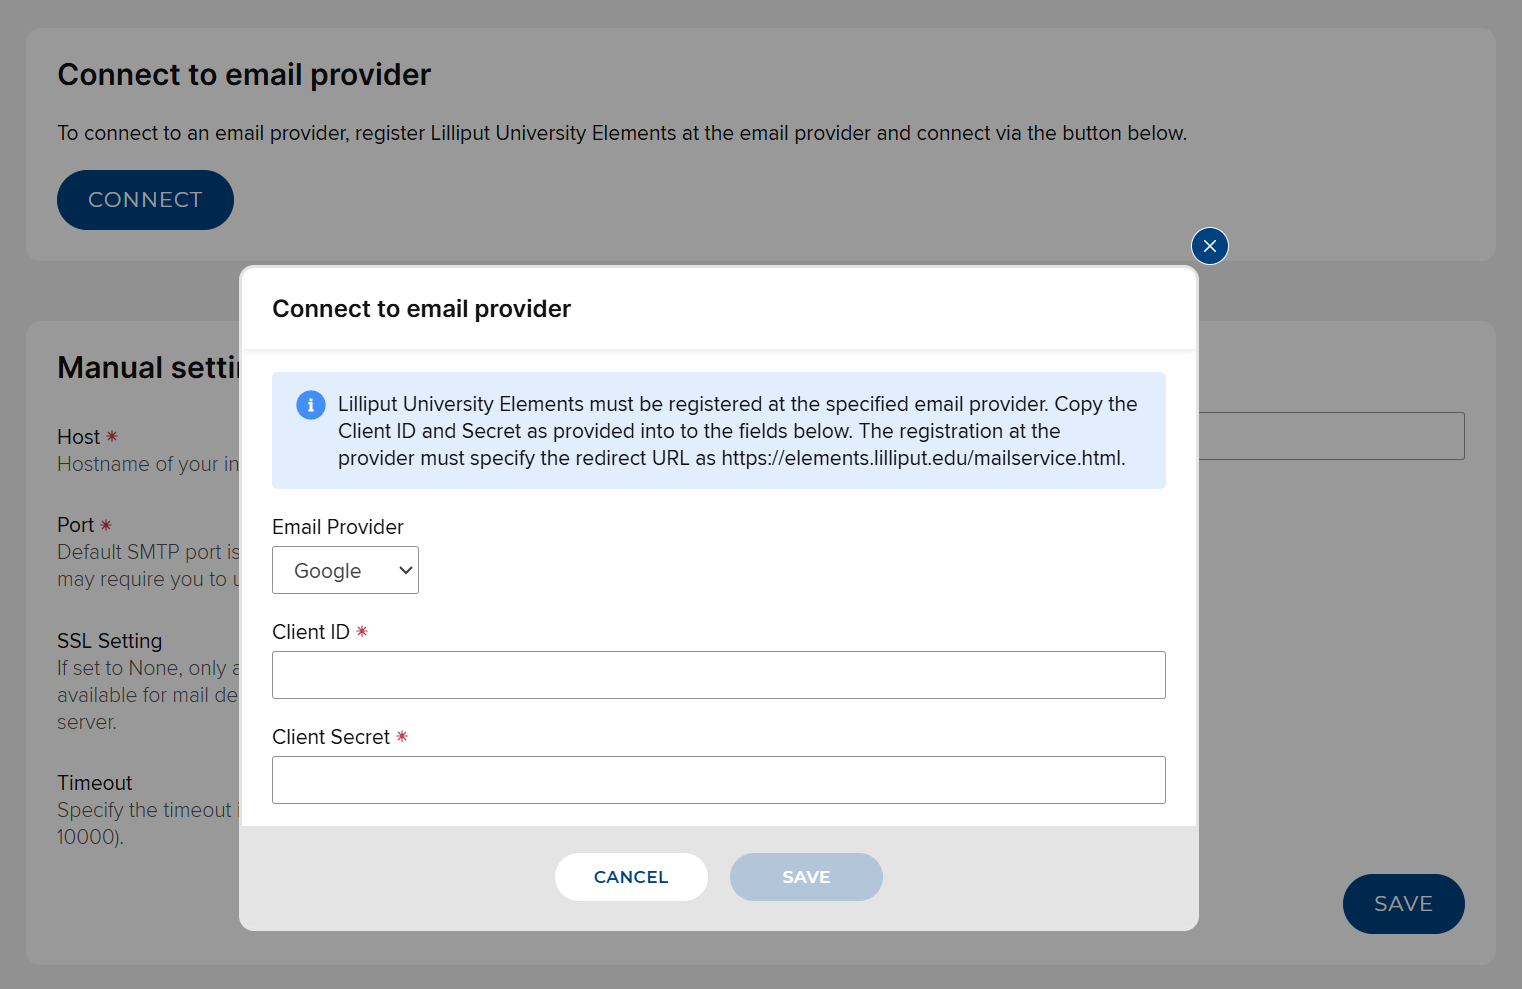
Connecting to Google or Microsoft mail servers with OAuth authentication
Firstly, register Elements as an OAuth application with your email provider. The redirect URL must be the website base URL of your Elements instance with "/mailservice.html" appended to it, e.g.
https://elements.my-institution.edu/mailservice.htmlYour email provider will generate a Client ID and Client Secret for the OAuth application (Microsoft may also provide a Tenant ID). You will need these in the next step.
In Elements, navigate to System Admin > Notifications & Actions > Email Configuration. In the "Connect to email provider" section, click the "Connect" button. Choose the appropriate email provider and enter the Client ID, Client Secret and Tenant ID (if applicable) your email provider generated previously. Click "Save".
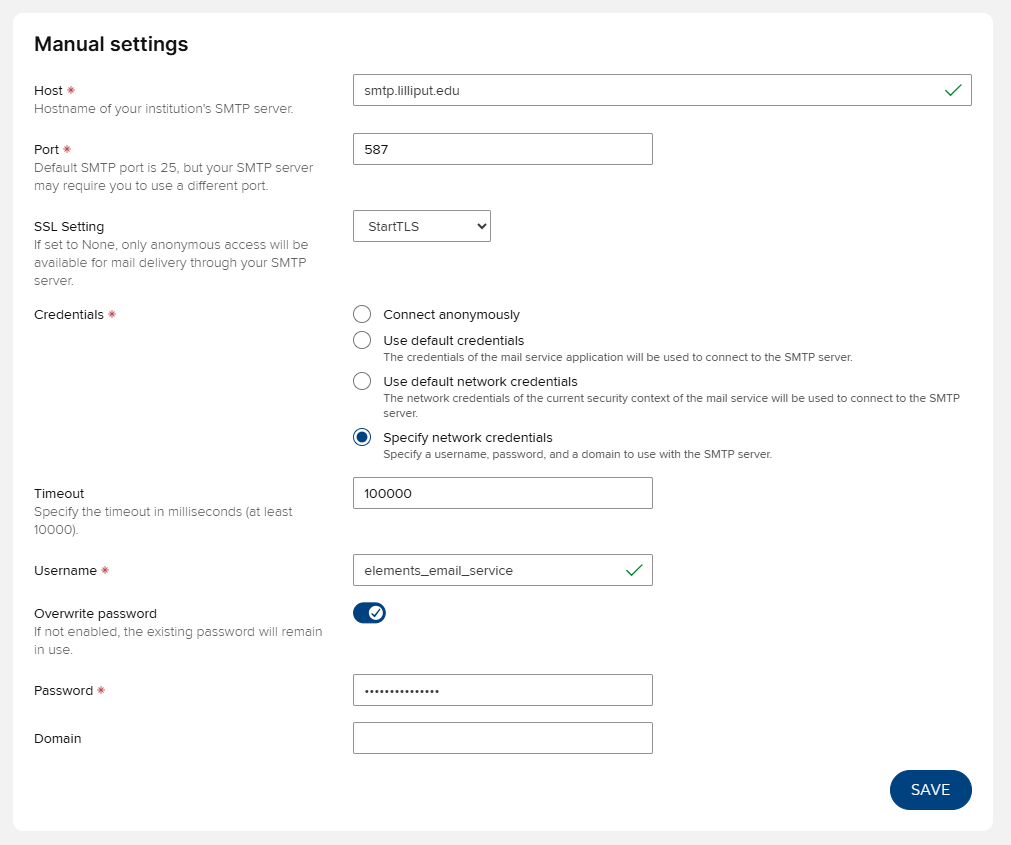
Connecting to an SMTP mail server using credentials
In the "Manual settings" section, configure the emailer as needed to connect to your mail server:
Host: the host name of the SMTP mail server
Port: the port to use when connecting to the SMTP mail server
SSL Setting: specify the protocol to be used for negotiating encryption
None: send emails without encryption (not recommended)
SSL on connect: Always use a secure connection. If the server does not support a secure connection, email sending will fail.
StartTLS: After reading the capabilities of the server over an insecure connection, a secure connection will be used for sending emails. If the server does not support a secure connection, email sending will fail.
Credentials: select which credentials to use for authentication with the SMTP server
Connect anonymously: send emails without authentication (not recommended)
Use default credentials: use the credentials of the Elements mail service application
Use default network credentials: use the network credentials of the current security context of the Elements mail service
Specify network credentials: use a specific username and password
Timeout: The time, in milliseconds, that Elements will wait for a response from the SMTP server before terminating the connection.
If specifying network credentials, you will also have the following settings:
Username: the username to connect with
Overwrite password: select this if you wish to change the password
Password: if changing the password, enter the new password here
Domain: the domain name (if required)
Elements 6.22 and earlier
The system needs to receive the host name of your institution’s email system and (possibly) a set of user credentials provided by the administrators of the email system.

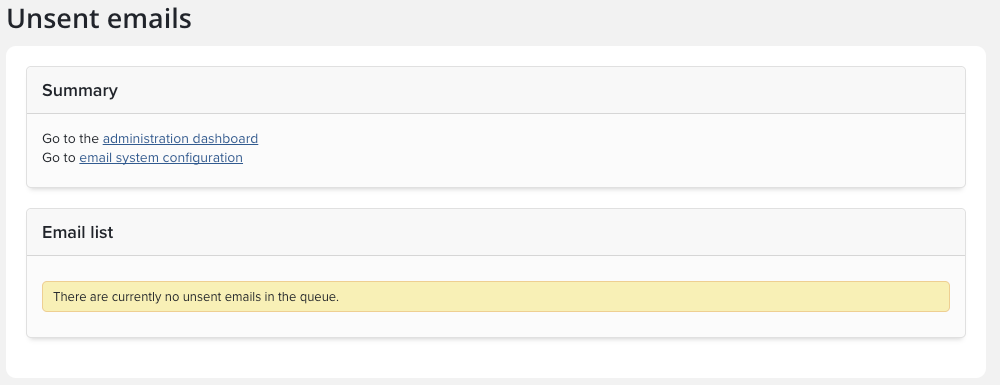
Unsent emails
You can click on the link in the Summary section to check whether there are any unsent emails waiting in the system (or go to System Admin > Notifications & Actions > Unsent Emails). This information is useful if, for example, you wish to investigate any apparent problems with the notification process.
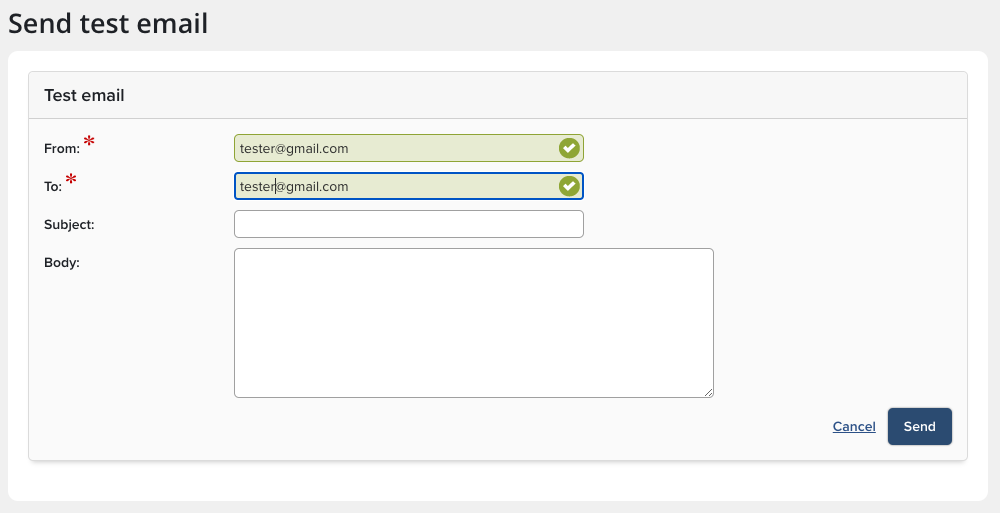
Send Test Email
You can click on the link at the top of the email configuration screen to send a test email (or go to System Admin > Notifications & Actions > Send a Test Email) in order to check that the links have been set up correctly. The link will take you to a new screen where you can choose to send the test email to any email address.